Last year (Summer 2019) I decided to use some bonus money from work to finally build myself a custom PC. I’d wanted one for a while since building my first PC workstation for my job in a research lab and got hooked on PC hardware. My work involved a lot of heavy compute so there was a practical reason as well as a fun reason. I spent a full year planning it out and then made the jump to purchase and build the machine. I originally posted the below breakdown of everything on the awesome site PC Part Picker here if you want to see a parts list.
The Requirements
I had some pretty hefty requirements for this build as I was designing it. Before we go into all the details of the build I’ll list them out below:
- A high performing development box that had plenty of RAM to run virtualization workloads and plenty of cores to run heavy C++ compiles.
- A great gaming rig that can run games at 60fps in both 1080p and 1440p at high settings.
- A good looking, small form factor (SFF) build that I can put on my desk and get a great feeling every time I look at it (yeah I know this isn’t practical but I spend a lot of time using this thing and want it to be aesthetically pleasing)
- A super quite machine that I’ll barely know is running even while it’s only a couple feet from my face.
- A machine that keeps temperatures under control (but not necessarily perfect) even while running heavy compiles or intense games.
The Design
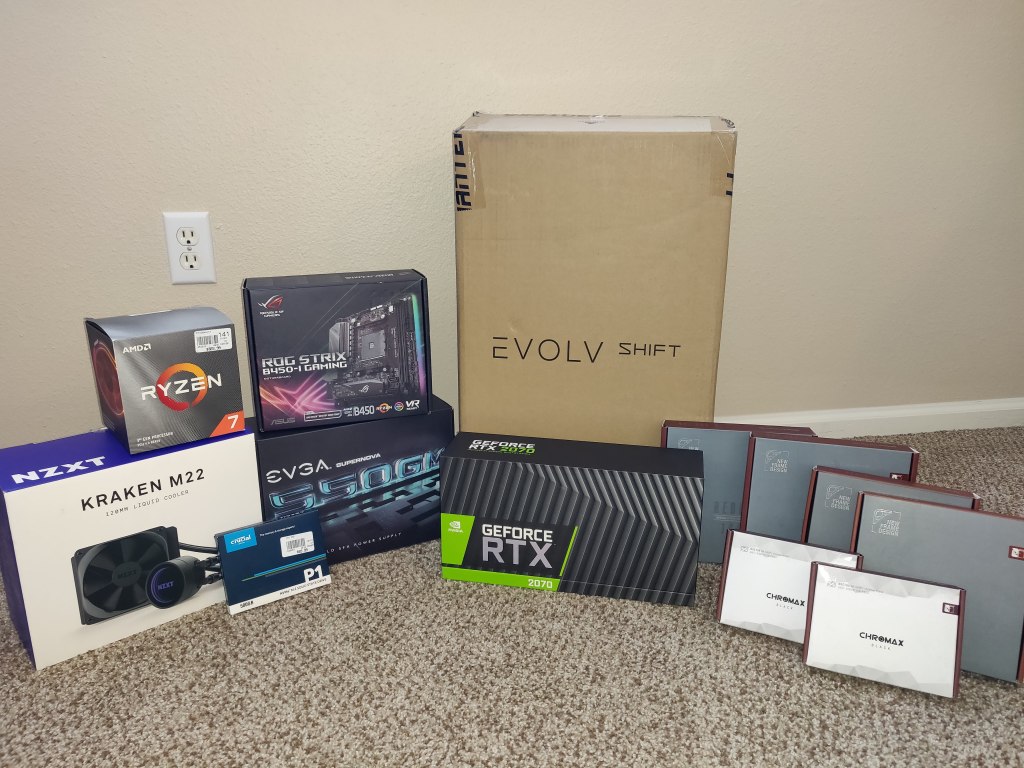
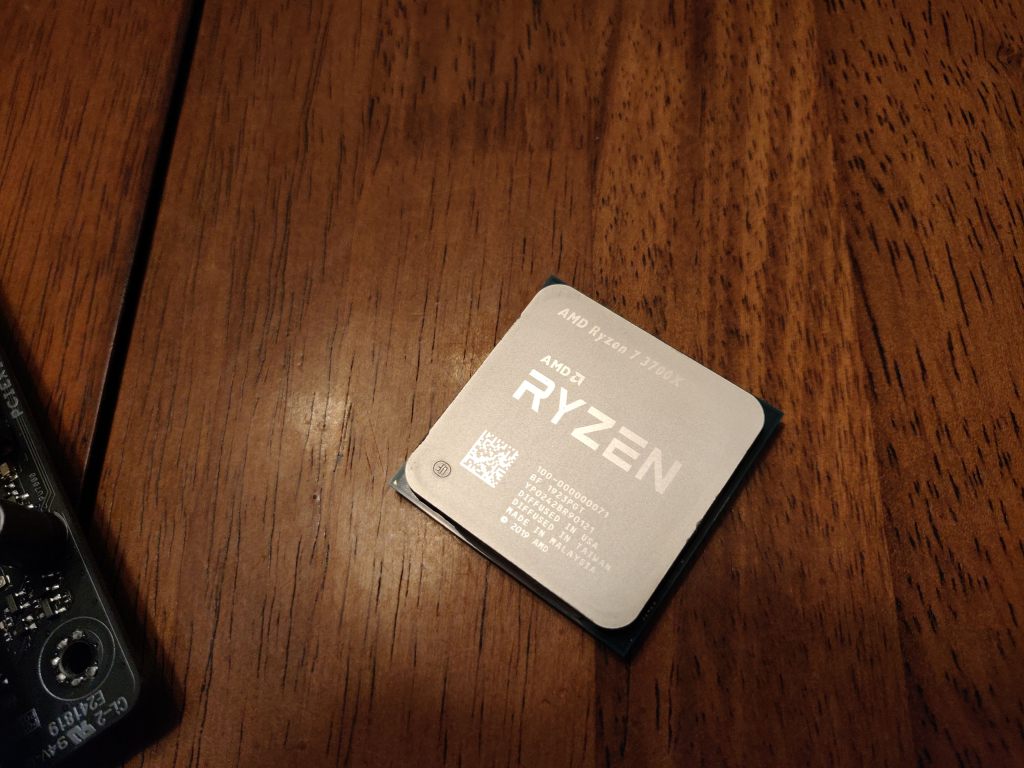
So these were pretty lofty goals. Originally my plan was to use a Ryzen 2700x but I was a bit concerned about thermals since it’s a 95W TDP chip. Then when the Ryzen 3700x came out I new that was the perfect chip since it offers event better performance at only a 65W TDP. It’s not the coolest of chips but it’s miles ahead of the 2nd series Ryzen chips and man does it fly through tasks. Throwing the 16 threads of a compilation power this thing offers at compiles is a dream to watch. It simply rips through all of my code.
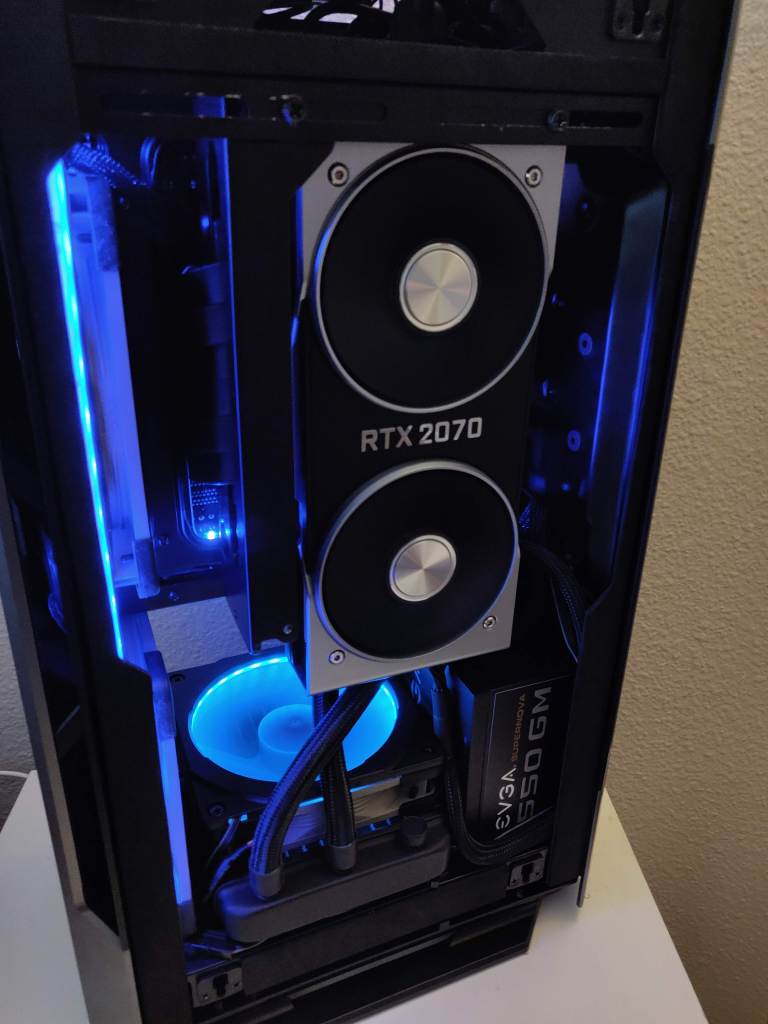
The GPU will be a bit contentious since I bought right before the 2070 SUPER came out, but I really wanted the 8-pin power on the end of the GPU since the case that I chose is pretty restrictive in terms of size (more on that later). Besides, the extra uptick in performance with the SUPER model is not something that I really notice. I’m not really a gamer (I use an Xbox controller to play on this thing :b) so the 2070 has plenty of performance for my needs. I could have gone with one of the new AMD cards, but I sometimes need CUDA for GPU accelerated tasks and Nvidia cards are better supported than AMD for those kind of things in my workflow.
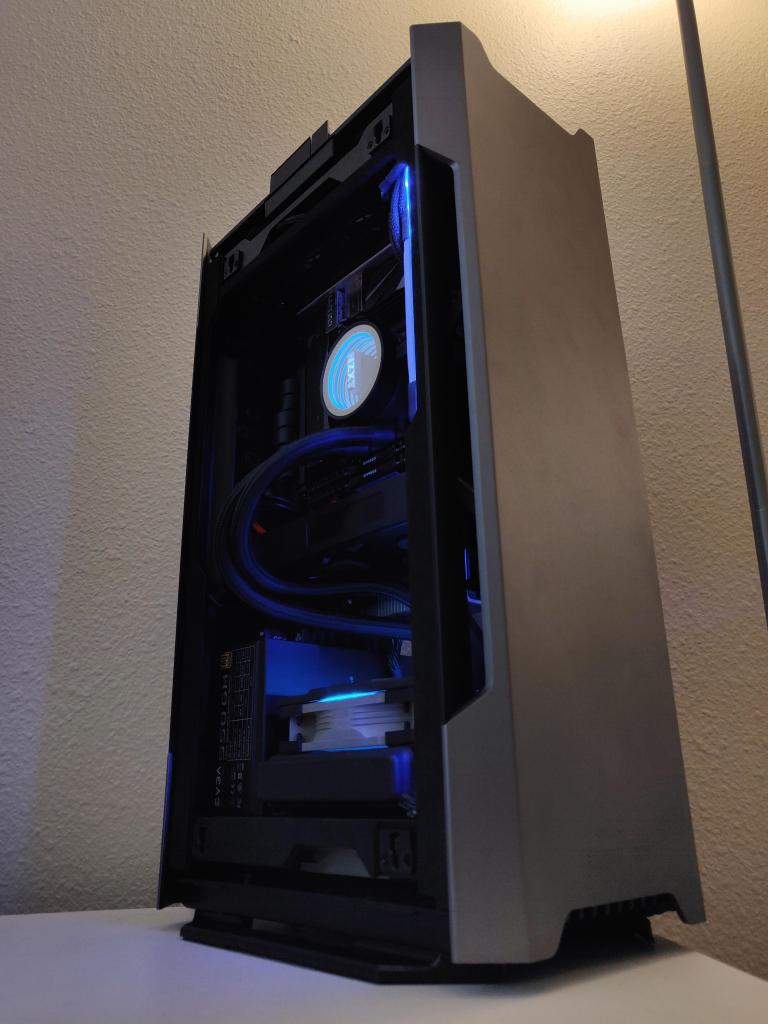
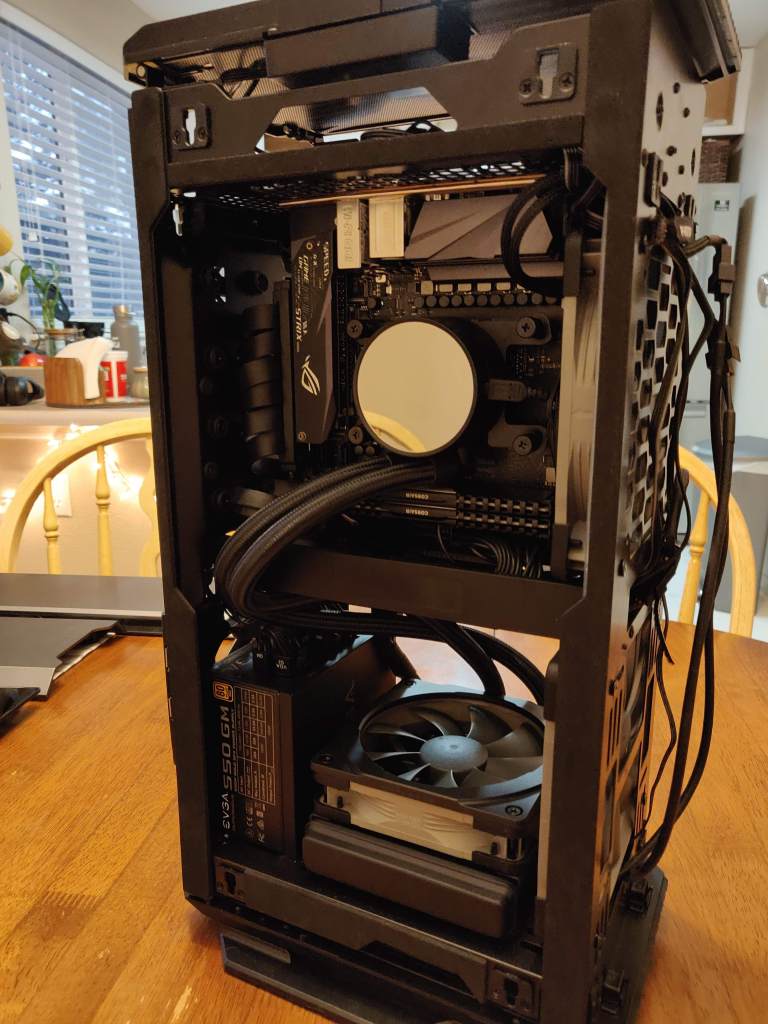
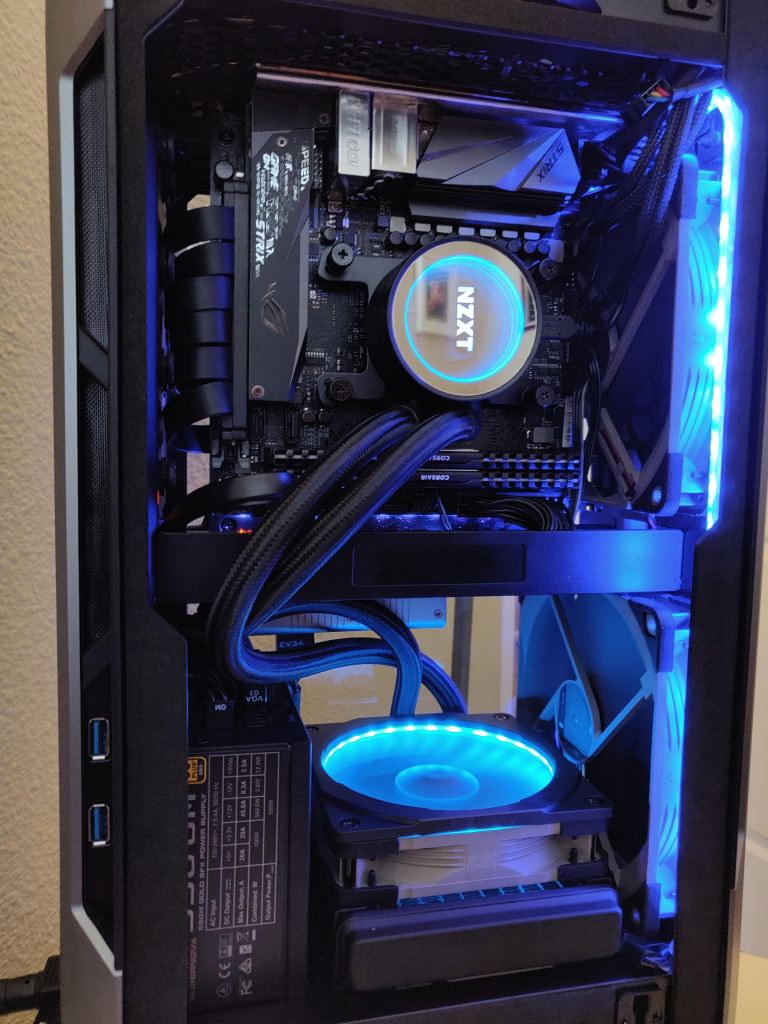
For the case I was originally going to use Corsair’s Crystal 280x because it’s relatively small and looks absolutely gorgeous. I’m a big fan of original case designs and that one ticked most of my boxes. However, once I saw the Phanteks Evolv Shift, I new that it was perfect for this build. It takes up even less space than the Crystal 280x and I love the truly novel layout that it uses. I also personally think that it’s the best looking case out there even though it’s been out for a few years. The one issue with this case that I knew going in is that it struggles with thermal performance. The front panel strangles your fans which means your CPU suffers and then the side glass panel strangles your GPU. I’ll talk about these later.

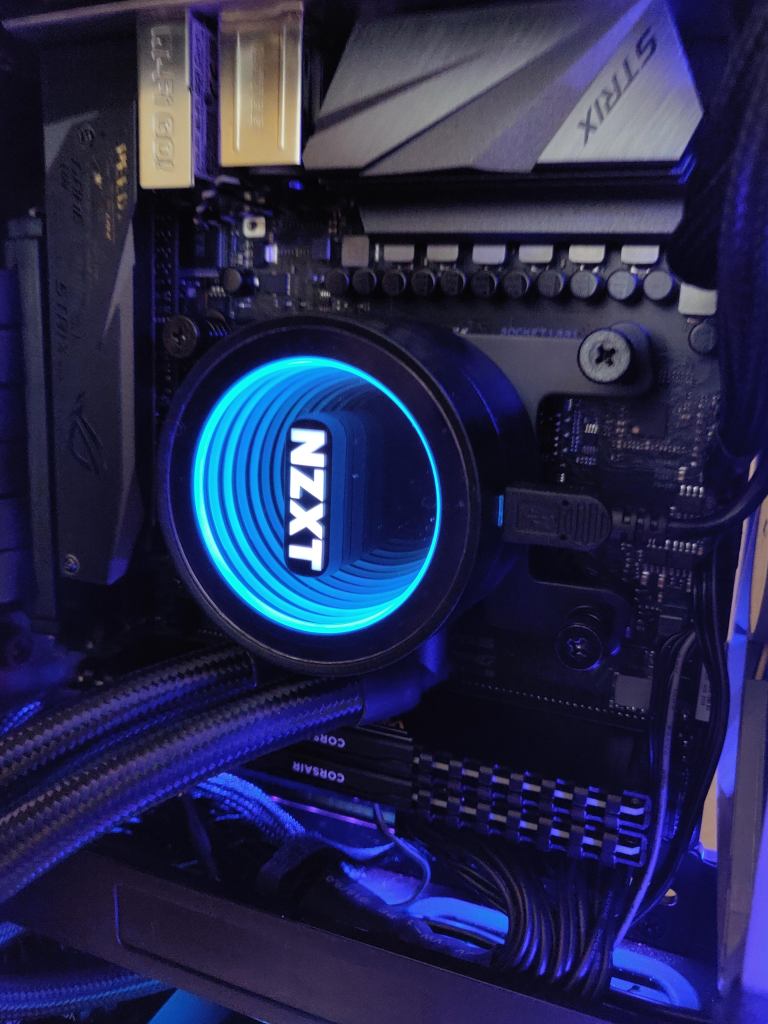
I must say that I really just got the NZXT M22 for the looks. I knew there were better performing 120mm coolers out there but I simply couldn’t choose those when something as pretty as the M22 were available. After using it for a while it does look great, but performance seems a bit lacking. For one thing, the fan that is included is crazy loud. Originally I thought it was my case fans (I was using the basic Phanteks ones originally), but that NZXT fan on the M22 is just terrible at anything but super low RPMs. Soon after the initial build though I splurged on a bunch of Noctua redux fans and they are so so awesome. I now have two 140s at the front and two 120s on the bottom in a push-pull configuration on the M22’s radiator.
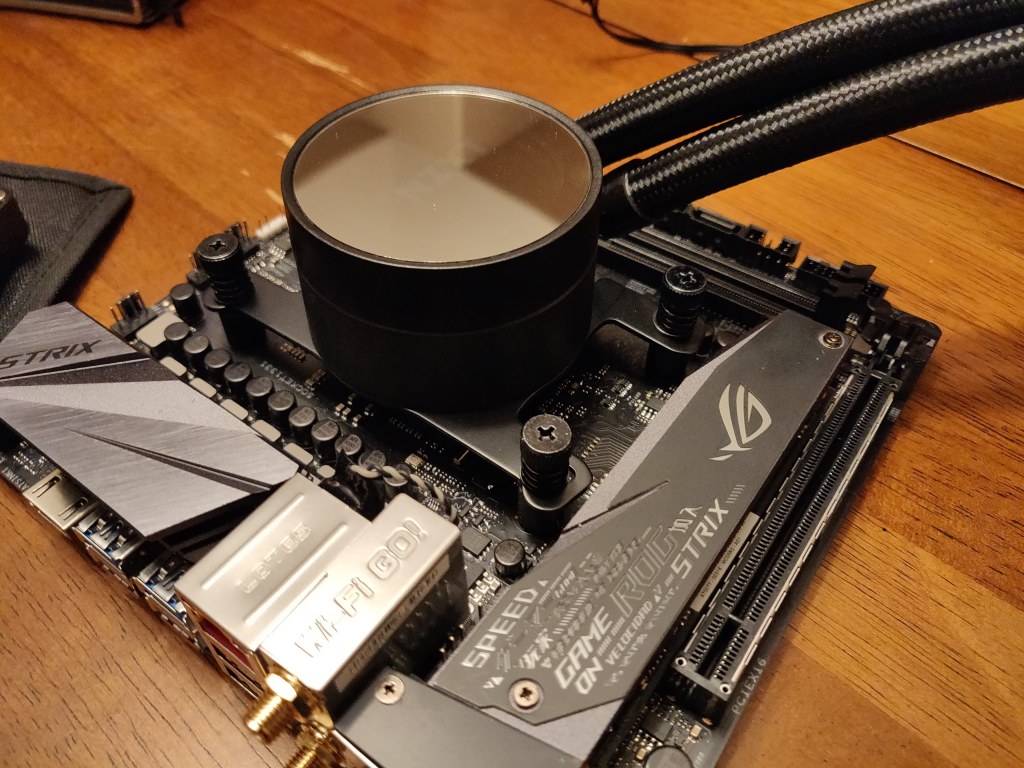
For the rest of the components the choices were a little easier. For the motherboard I knew I wanted to go B450 to simply save on cost (X570 is just not worth it for me since I don’t need PCIe 4.0) and with limited options for ITX B450 boards I simply went with this Strix board since it’s very highly rated and I got an amazing deal from Micro Center by bundling it with my AMD CPU. For the memory I new I wanted >3000MHz since 3rd gen Ryzen loves it and got this kit for cheap from a friend. I’ve actually used the Crucial P1 SSD in my laptop for a while and I think it’s got to be the best value SSD on the market right now.
The Build

Alright, now for the actual build. Building in the Evolv Shift is not easy. This was my third custom PC build and by far the hardest I’d ever done (both of the others were in typical mid towers). However, I actually relished the challenge. There were a lot of steps that had to be redone and I went about the whole process very slowly over the course of an entire week. I’d highly recommend that approach with this case as you can’t approach it like a typical build at all.
However, this case is so so so well built. It’s well thought out and there are places to run and manage cables in all the right spots. Just make sure you spend time checking for compatibility first so you know everything will fit just right. I loved building in this case as it brings such a nice challenge that is so rewarding by the end.
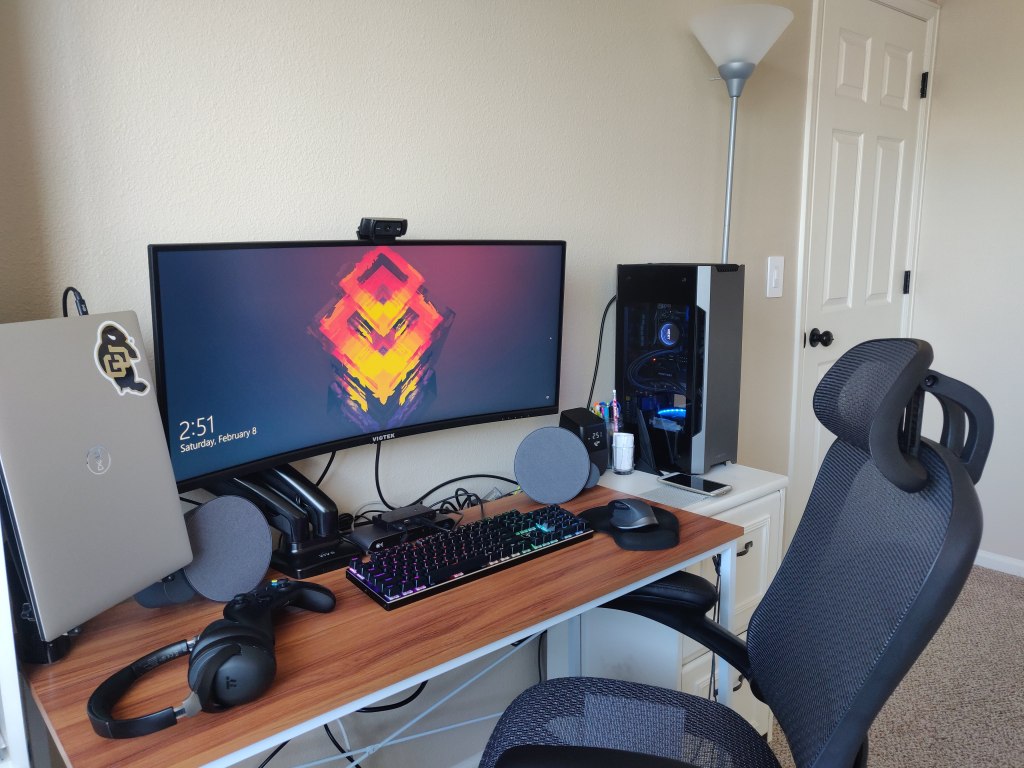
And rewarding it really is. This case looks amazing and I’m so happy with the final product. All the parts have a seamless black, gray, and silver coloring and with a splash of RGB the thing just pops. I have it sitting right next to me on my desk and love seeing it every day I sit down to work or game.
The Results
The size, and looks of the build I immediately knew were a success, but let’s now talk about the acoustics, performance, and thermals.
Acoustics
With the stock fans, this thing was loud. I was really disappointed at first but after swapping all the fans for Noctua’s redux ones the whole thing was near silent at idle. I have the CPU fans on the radiator set at only 800rpm at idle and the front case fans set at 500rpm. With this setup the pump is actually the loudest part of the CPU cooling which is nearly silent.
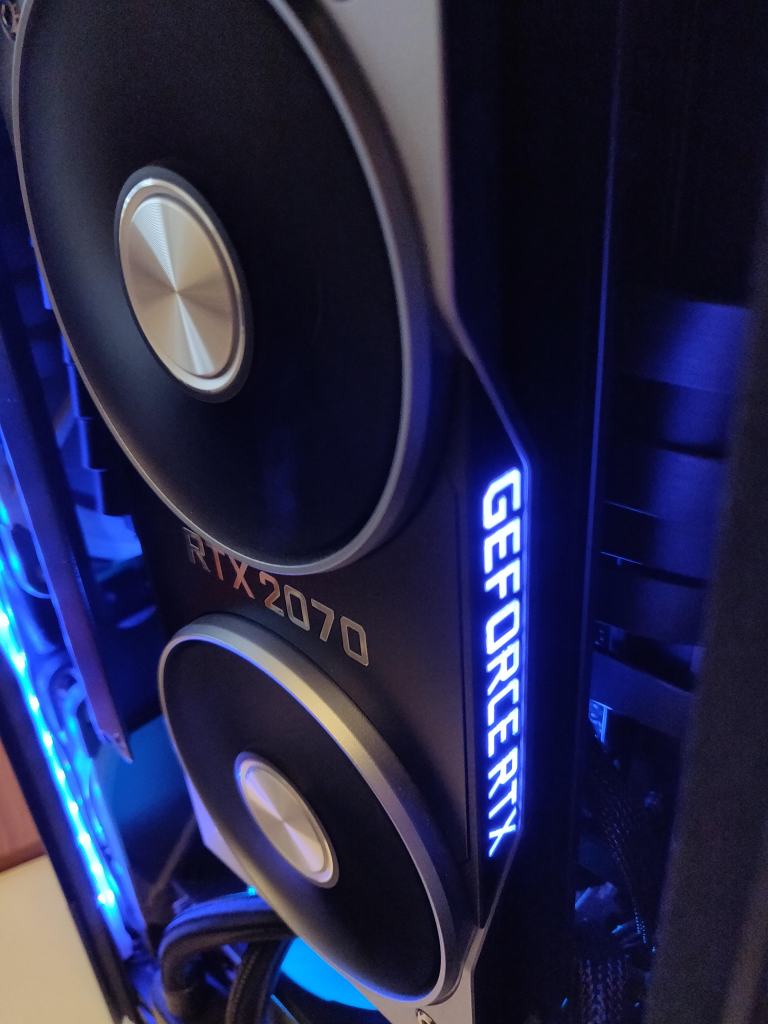
However, I quickly noticed that the GPU was making most of the noise in the system. On the 2070 Founder’s Edition that I have the fans can only be reduced to a minimum speed of 41%. Because of this, I actually flashed a different bios on the card so that I could further reduce the fan speed and make the thing nearly silent at idle. This type of BIOS flashing is a little dangerous, but very rewarding. You can read about what I did on this Reddit post here: https://www.reddit.com/r/nvidia/comments/e0z36b/bios_flashing_with_the_rtx_2070_fe/
With that modification and setting the GPU fans to about 28% at idle, the thing is just a whisper. Obviously I have fan curves set up on all the fans so it gets much louder under load, but I love that I can be watching a video or debugging things on the web and the only noise is the very soft sounds of air moving through the case.
CPU Performance
This thing absolutely flies. I’ve mentioned it above, but it completely crushes CPU tasks that I regularly do like lengthy compiles. I compared it to my work machine which has an non-K Intel 8700 (6c/12t) and it does my largest compile in a time that is a solid 20% faster. That’s huge in improving my work efficiency. Everyday tasks for me involve running multiple VMs (Docker and WSL), running Python and C++ projects, and the occasional Java project. All of these are done wicked fast so I have no complaints. Here are some CPU benchmarks I ran for you to get an idea:
| Cinebench R20 (multi-core) | 4749 |
| Cinebench R20 (single-core) | 495 |
| CPU-Z (multi-core) | 5458 |
| CPU-Z (single-core) | 511 |
| 3DMARK Time Spy (CPU) | 9896 |
GPU Performance
The RTX 2070 Founder’s Edition is a great card. It has some thermal and sound issues (I’ll mention more on this below), but performance is great. Like I said before, I don’t do a ton of gaming but my favorite franchise is Assassin’s Creed so it needs to be able to handle pretty demanding games. When building this rig I only had a 1080p 60Hz monitor though so the 2070 was definitely overkill. Since then, however, I upgraded to a 1440p ultrawide monitor at 100Hz and the 2070 is maxed out but still performs super well. I’ve played everything from simple shooters like The Division to rich games like AC Odyssey and the 2070 churns through with the settings optimized (mostly high presets). Here are some benchmarks for a better comparison to similar rigs:
| 3DMARK Time Spy (GPU) | 9557 |
| 3DMARK Time Spy (combined) | 9843 |
| Unigine Heaven Benchmark 4.0 | see below |
| FPS | 214.1 |
| Score | 51.3 |
| Minimum FPS | 51.3 |
Thermals
Temperatures in this case and with this hardware is where things get fairly interesting. Like I mentioned above, the case cramps airflow and the CPU cooler I chose is not the most efficient on the market. I tested different fan configurations and finally settled on having the CPU radiator mounted at the bottom of the case with two 120mm fans in push-pull exhausting out of the case. I also have two 140mm fans mounted to the front of the case with both pulling fresh air in. The bottom 140 front fan feeds the radiator fans for the CPU and the top 140 front fan cools the motherboard and send a little bit of air to the GPU. With this configuration my CPU idles around 50C and under stress testing it maxes out at 84C (all of this is with fans at max RPM for testing). Under the heavy workloads I typically throw at it the CPU never even gets up to 80C (with normal fan speeds).
| CPU at idle | 48C |
| CPU under load | 84C |
Also, I like to have my GPU turned with the fans facing outward (towards the glass) which is definitely not the best for temperatures but looks awesome. If you leave the glass panel on in this configuration while gaming the card quickly heats up and thermal throttles. To fix this I simply take the glass off when gaming and the GPU stays at a very comfortable temperature even when pegged in heavy games.
Phanteks is dragging their feet on officially releasing the Shift Air mesh side panels but I’m definitely replacing my GPU panel with one of those as soon as I can. Since I reduced the fan speed at idle the idle temps are fairly high in the mid 50s with the side panel on. Under load the GPU will thermal throttle with the glass panel on but without it they stay in the 70s. I’ll update this post when I get the mesh panel to reflect the new idle and load temps.
| GPU at idle (glass on) | mid 50s C |
| GPU under load (glass on) | 84C |
| GPU at idle (glass off) | mid 40s C |
| GPU under load (glass off) | mid 70s C |
UPDATE: After a long wait I eventually was able to get a Evolv Shift Air mesh side panel for my GPU. After replacing the glass panel with the mesh I saw much better temperatures performance. Basically the temperatures behave the same as with the glass panel completely removed (so the second set of temperatures in the chart above). Noise levels barely increased any at idle and CPU temperatures were unaffected. I’m very pleased with with the type of mesh as well since it does a great job of capturing dust before it gets into the case and all I have to do is vacuum it every month or so.
Conclusion
Overall I’m very very pleased with this build. It does everything I set out for it to do and so meets all of my goals. I used builds on sites like PC Part Picker, the various PC building subreddits, and reviews across the web to come up with this build and make sure I was getting the best value for the money I spent. That being said, I’m really grateful for the community in the PC hardware space for the help and would love to answer any questions or hear any comments you all have about the build.